The steps below detail how to open Outlook as a shared mailbox, so that the shared mailbox is the primary mailbox.
Doing this allows Outlook to configure more advanced settings for the shared mailbox, such as creating send and receive mail rules.
The steps require that:
- you are using Outlook in an Exchange mail environment,
- that the shared mailbox is in the same Exchange mail environment,
- that the user account that you are logged in with has access to the shared mailbox.
Step 1 – get your mail server address
The first step is to get the name/address for your mail server.
This can be done by opening the ‘Mail’ tool on a computer that already has Outlook configured.
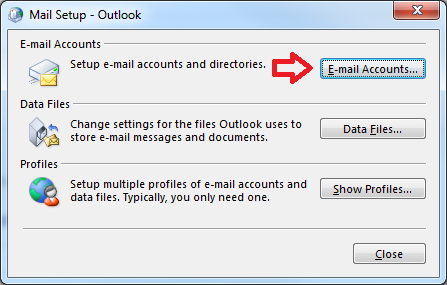
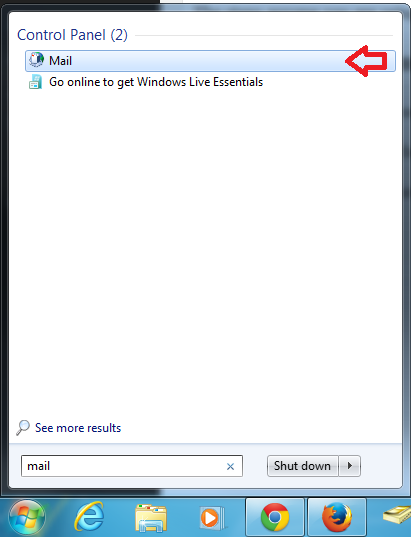
- Click on the Windows start button, type ‘mail’ and when Mail appears in the list above click on it.
- Click on the ‘E-mail Accounts’ button
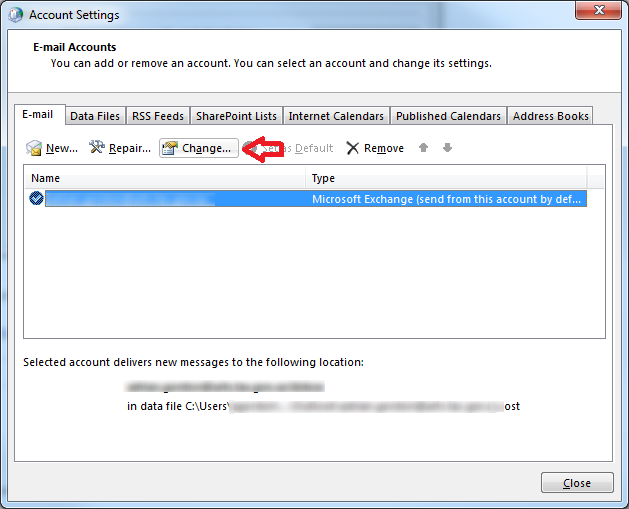
- Under the ‘E-mail’ tab you will see the mailbox that you currently use for Outlook, click on the ‘Change’ button
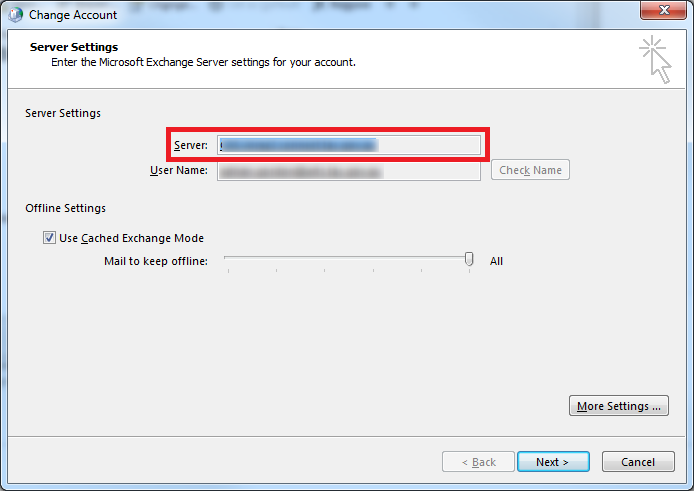
- In the window that opens you will find the server name/address.
- Take note of the address and close all the windows (click ‘Cancel’, ‘Close’ and then ‘Close’)
Step 2 – add a mail profile for the shared mailbox
Outlook uses mail ‘profiles’ to hold the settings for each configured mailbox.
Normally when adding a shared mailbox it will be added to your existing profile, however these steps require you to create a new profile that is specific to the shared mailbox.
- Close Outlook if it is currently open
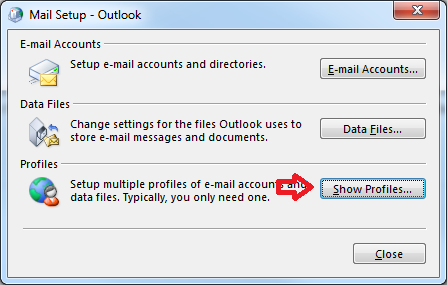
- Click on the Windows start button, type ‘mail’ and when Mail appears in the list above click on it.

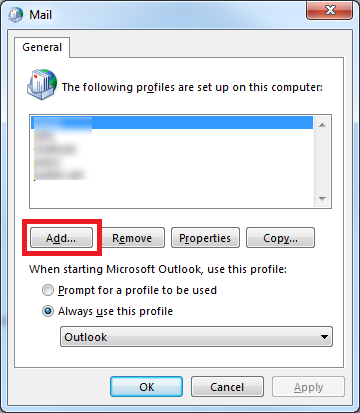
- Click on the ‘Show Profiles’ button
- In this window you can create new profiles and choose whether a profile opens automatically when you open Outlook or if Outlook asks will profile is opened – these steps will make Outlook open a mailbox automatically, you can choose for Outlook to ask by selecting ‘Prompt for a profile to be used’.
- Click on the ‘Add’ button
- Enter a name for the profile, for example the name of the shared mailbox and click ‘OK’ (the name can be anything, it’s only for your reference)
- The ‘Add Account’ window will open
- Select ‘Manual setup or additional server types’ then click ‘Next’
- Leave ‘Microsoft Exchange Server or compatible service’ selected and click ‘Next’
- In the ‘Server’ box, enter the server address noted above
- Under username, enter the name of the mailbox – you should be able to use the full email address, e.g. [email protected] (if in doubt, you can use your Global Address List in Outlook to look up the email account and find the name)
- Click ‘Next’ and ‘Finish’
- Back in the ‘Mail’ window, select the ‘Always use this profile’ option and in the drop down select the profile you just created.
- Click ‘OK’ to save the changes.
And you’re done – now when you open Outlook the shared mailbox will open as the primary mailbox. You can use Outlook to configure advanced settings for the mailbox.
