Add Device Drivers to an Offline Windows Image
The following process details how to add additional drivers to a Windows 7 system image. This will all you to include or bundle drivers into your installation media, allowing the drivers to be automatically installed during the installation process.
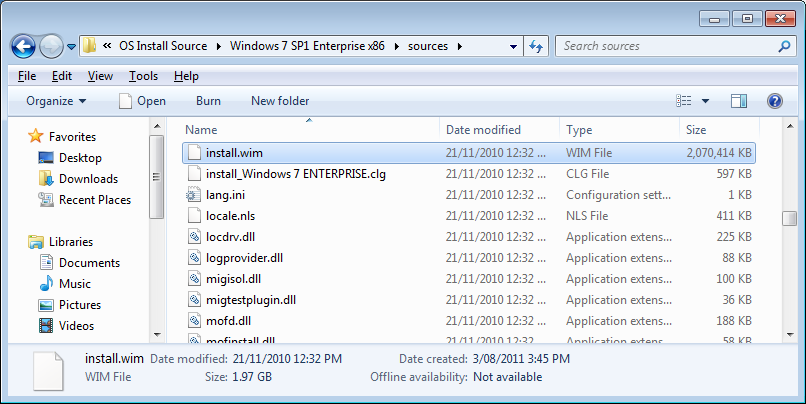
In this example we will be adding the drivers to the ‘install.wim’ file which came from a standard Windows 7 installation DVD.
STEP 1: Copy the install.wim and catalouge file
- Copy the install.wim and associated catalogue file (e.g. install_Windows 7 ENTERPRISE.clg) to a temporary working location.
- For example, C:\TEMP
STEP 2: Download and install WAIK
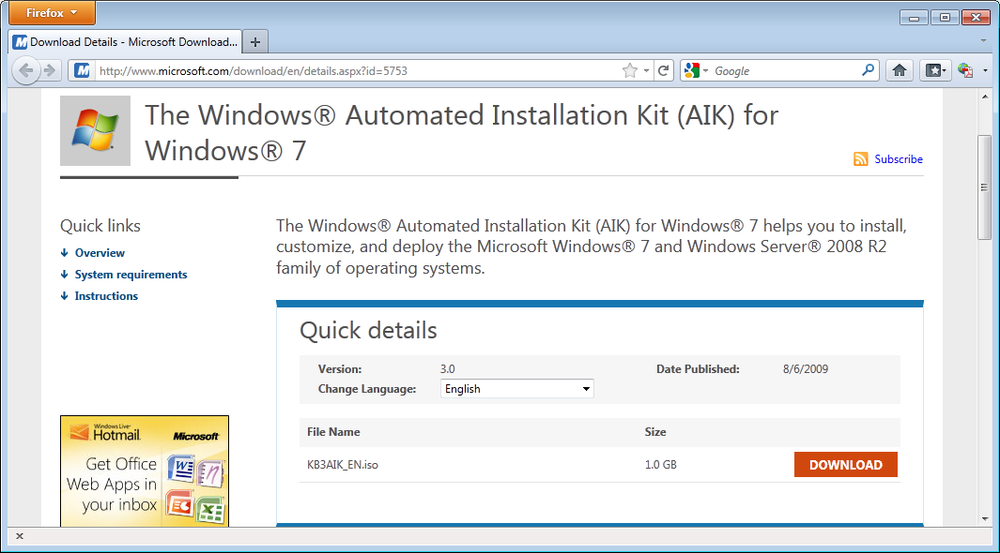
- Download and install the Windows Automated Installation Kit (WAIK): http://www.microsoft.com/download/en/details.aspx?id=5753
STEP 3: Extract drivers to their INF files
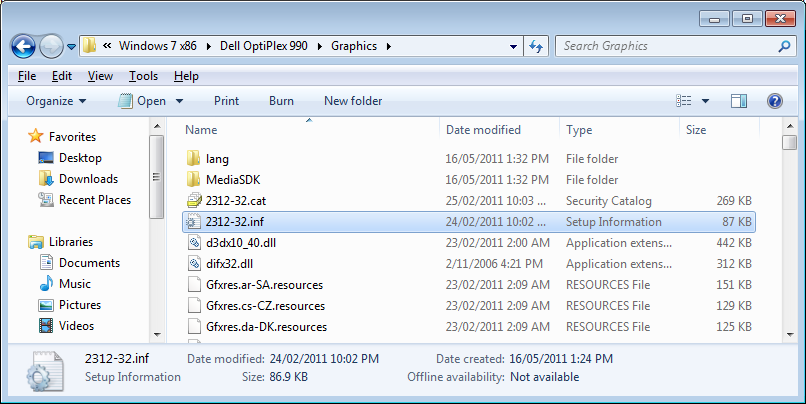
- Download the drivers from the manufacturer. In this example we’ll be including the Intel graphic drivers for the Dell OptiPlex 990 desktop.
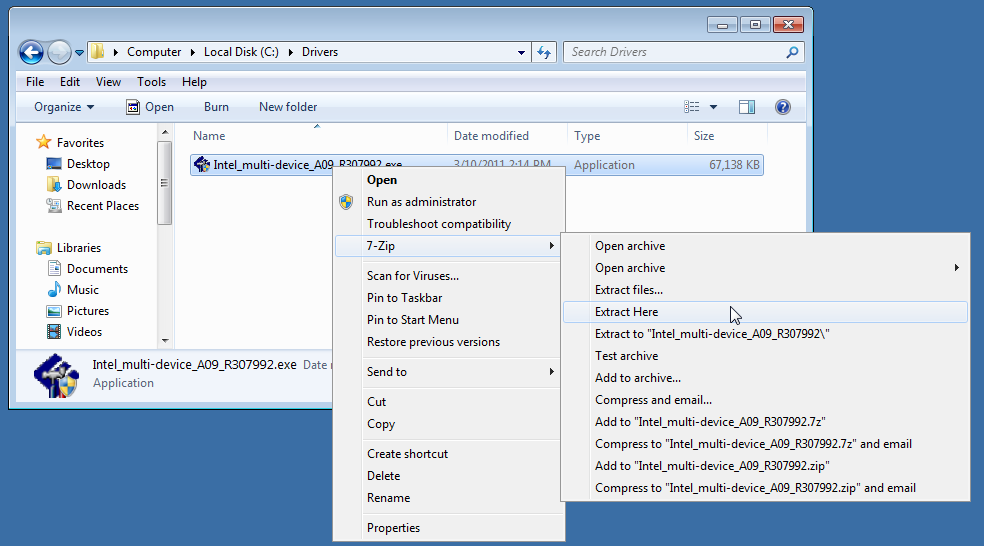
- Using your preferred package extract program, extract the file so you are left with the core drivers (INF files etc).
- Place all the driver files into a temporary folder, e.g. C:\Drivers
STEP 4: Create a Windows SIM Answer file
The Windows System Image Manager (Windows SIM) application is used to create an answer file. The answer file contains the paths to the device drivers that you intend to install.
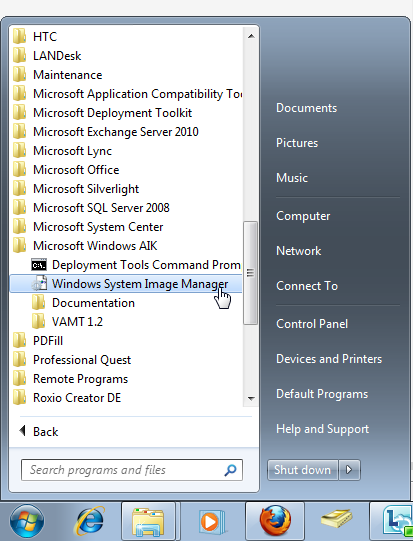
- Open the Windows System Image Manager (Windows SIM) application
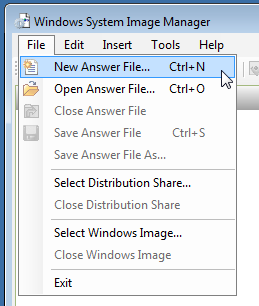
- Select the ‘File’ then ‘New’ menu
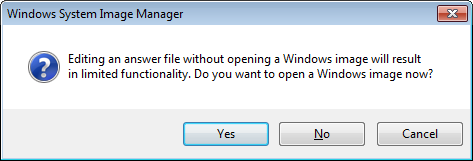
- When prompted, select ‘Yes’
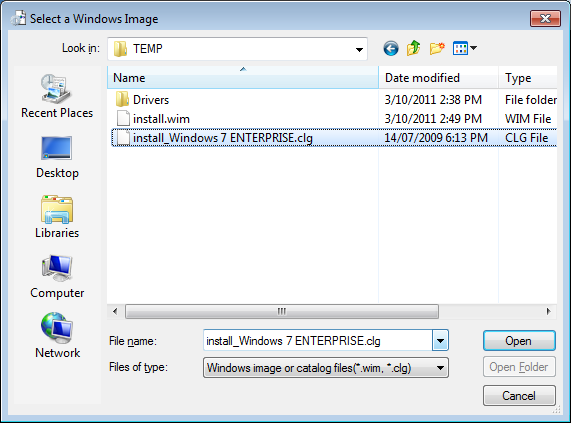
- Open the catalogue file (install_Windows 7 ENTERPRISE.clg
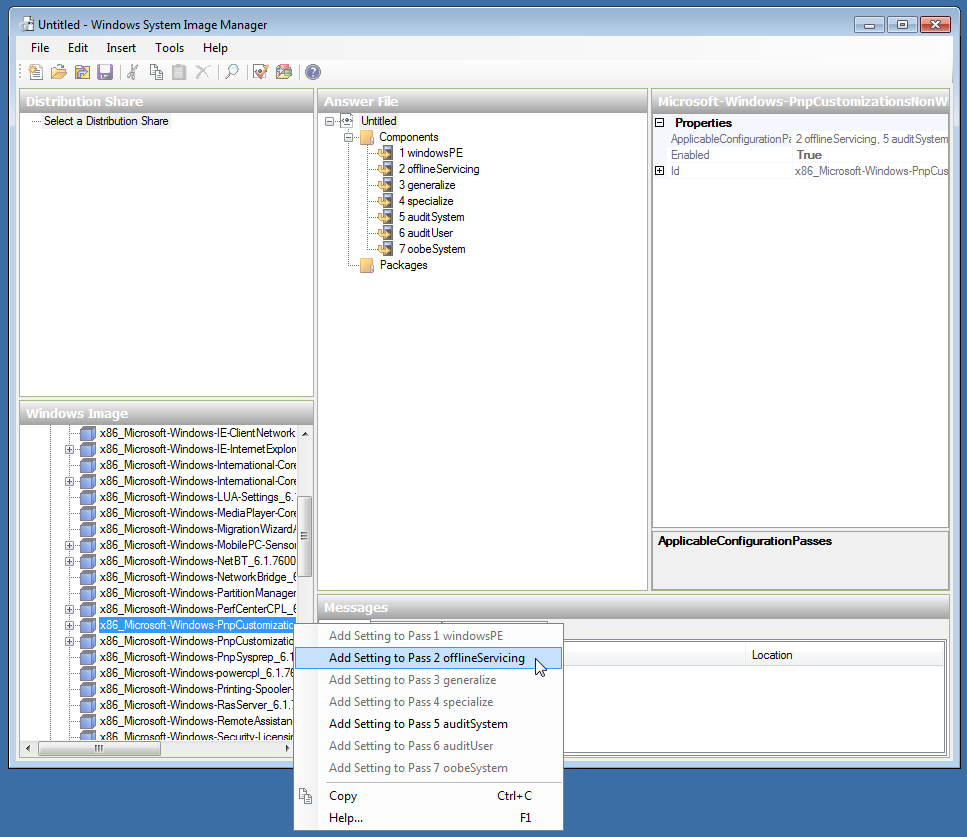
- Under ‘Windows Image’ expand ‘Components’
- Right click on ‘Microsoft-WindowsPnpCustomizationsNonWinPE’ and select ‘Add setting to Pass 2 offlineServicing’
- Under ‘Answer File’ expand ‘Microsoft-Windows-PnpCustomizationsNonWinPE’
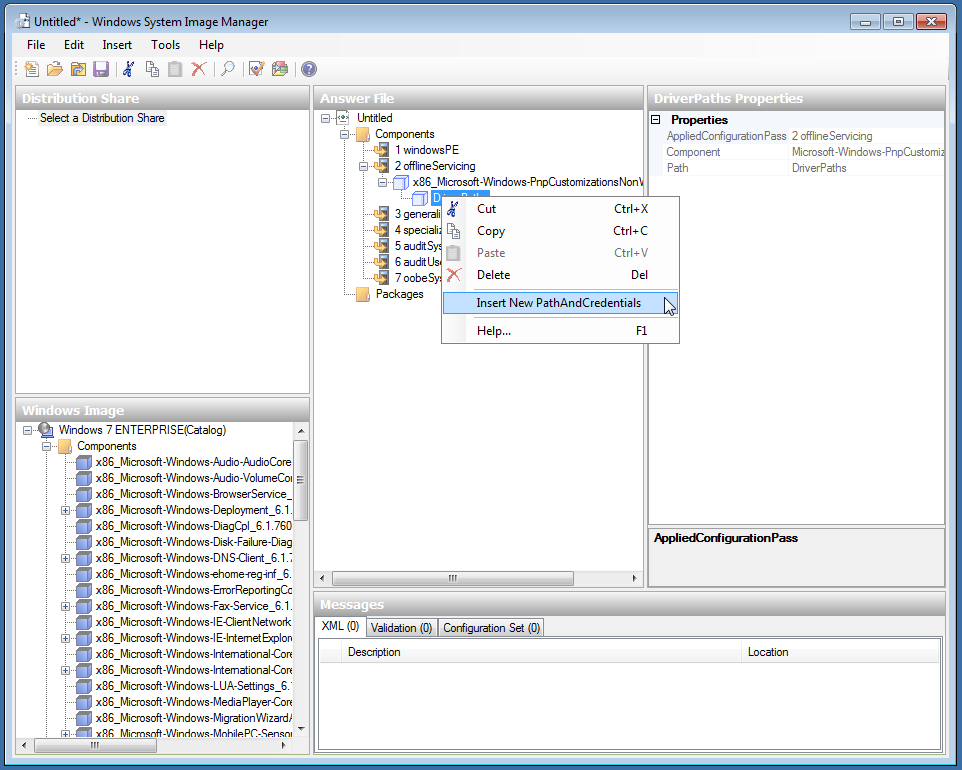
- Right click on ‘DriverPaths’ and select ‘Insert New PathAndCredentials’
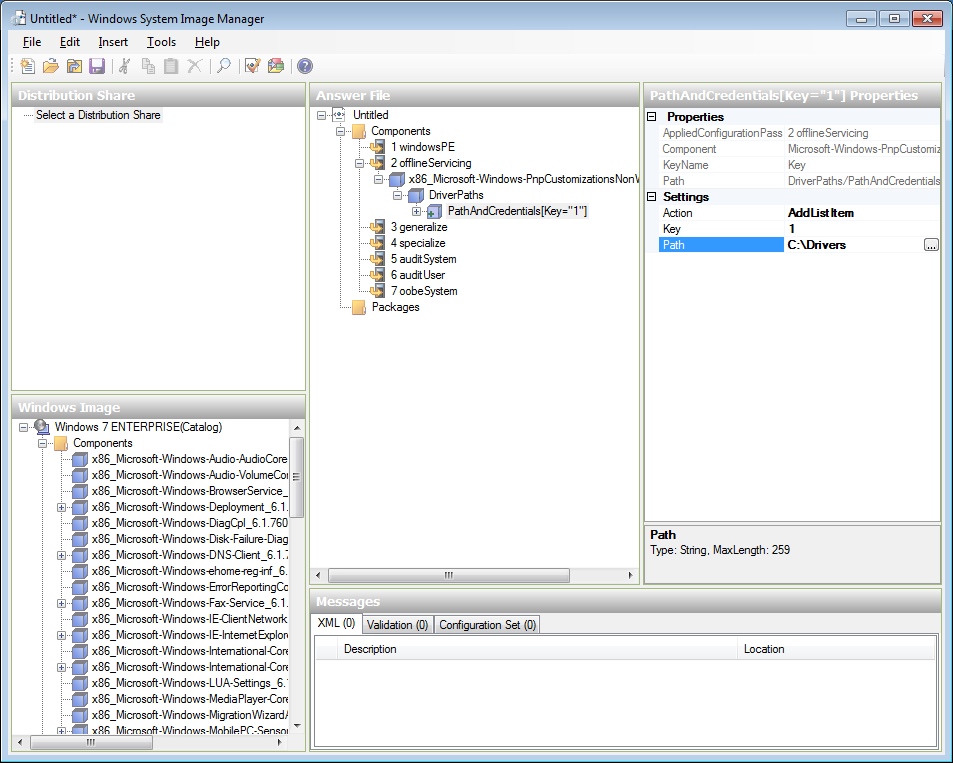
- Under ‘Key’ enter ‘1’
- Under ‘Path’ enter the path to your driver files (e.g. C:\Drivers)
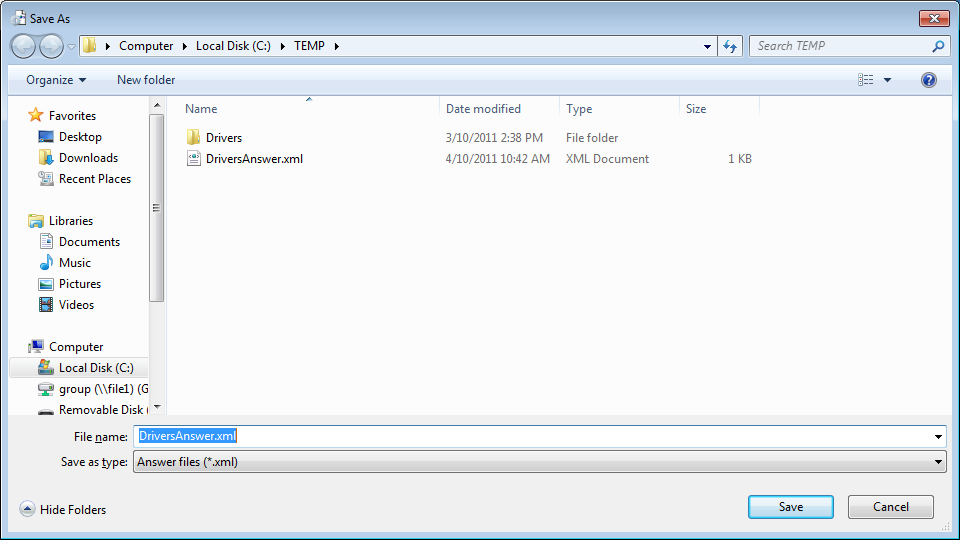
- Save the file to your temporary working location (e.g. C:\TEMP)
- Close the Windows System Image Manager application.
STEP 5: Enable detailed logging (OPTIONAL)
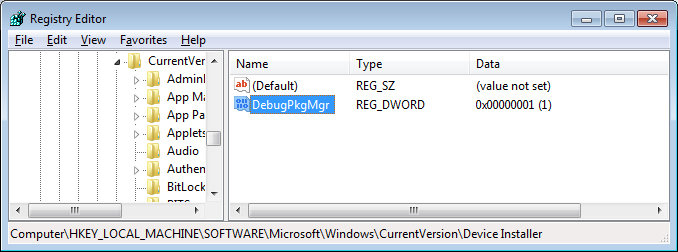
- To enable logging of specific device driver injections by creating the following registry key on your computer: (This log file will log all actions of the driver injection process)
-
Path: HKLM\Software\Microsoft\Windows\CurrentVersion\Device Installer
Key: DebugPkgMgr
Type: REG_DWORD
Value: 0x01
STEP 6: Mount the image and import the drivers
- Create a folder for mounting the image, e.g. C:\TEMP\wim_mount
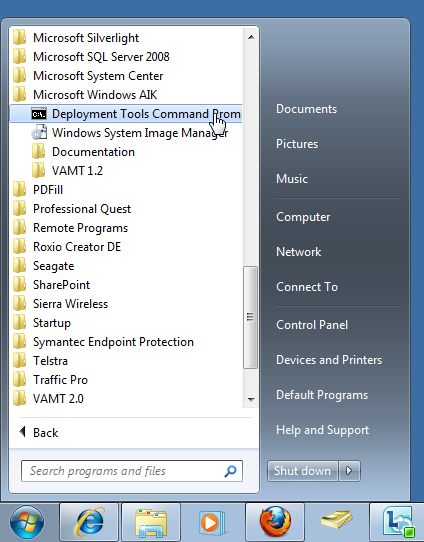
- Open the ‘Deployment Tools Command Prompt’ application ‘as Administrator’
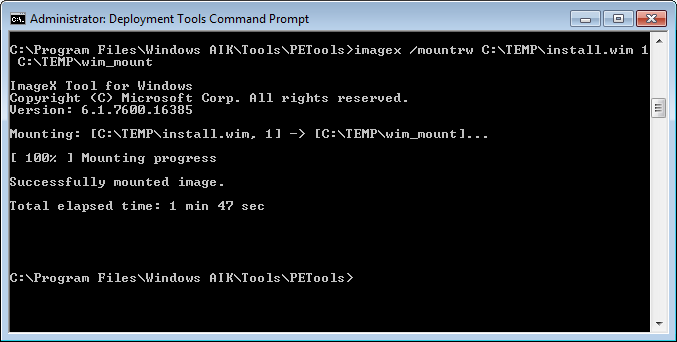
- Mount the Windows image by running the following command: (you may need to modify depending on the folder paths you have used)
-
imagex /mountrw C:\TEMP\install.wim 1 C:\TEMP\wim_mount
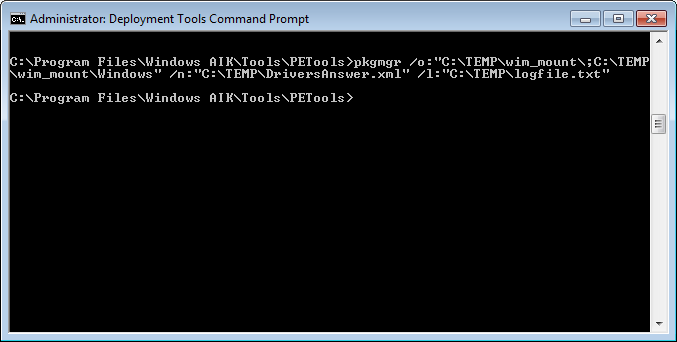
- Apply the driver answer file to the mounted Windows 7 image by running for following command: (you may need to modify depending on the folder paths you have used)
-
pkgmgr /o:"C:\TEMP\wim_mount\;C:\TEMP\wim_mount\Windows" /n:"C:\TEMP\Drivers\Answer.xml" /l:"C:TEMPlogfile.txt"
- The driver .inf files referenced in the path in the answer file will be added to the Windows 7 image.
- A log file is created at C:\TEMP\Logfile.txt
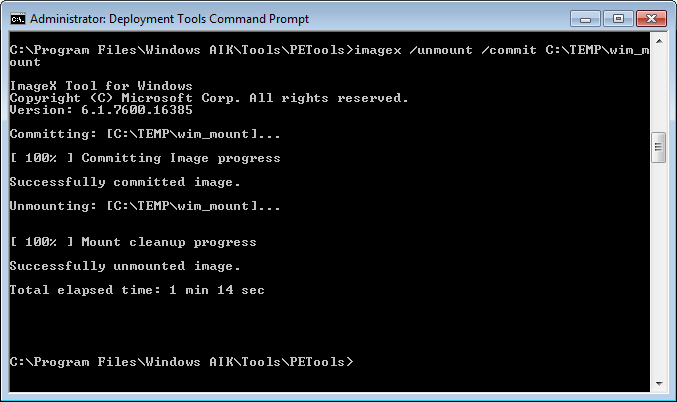
- Unmount the .wim file and commit the changes by running the following command: (you may need to modify depending on the folder paths you have used)
imagex /unmount /commit C:\TEMP\wim_mount
The Windows 7 image is ready to be deployed, complete with additional drivers. You will be able to use the file on your Windows 7 USB install media or DVD media etc.
For more information about using Package Manager, see Package Manager Command-Line Options.
