The steps below detail how to convert an audio disc to MP3 files using Windows Media Player.
Fun fact – the CDA files you see in an audio disc are nothing more than shortcuts to the tracks on an audio disc.
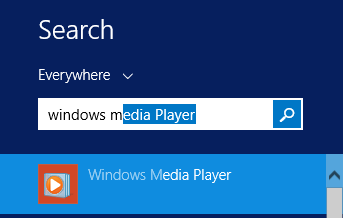
- Open Windows Media Player (Open the Windows menu, type ‘Windows Media player’ and click on the icon)
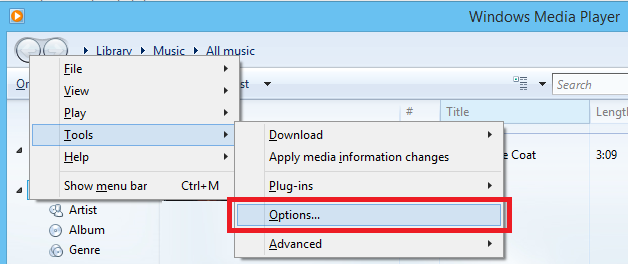
- Press ‘Alt’ on the keyboard and open the ‘Tools’ menu then ‘Options’
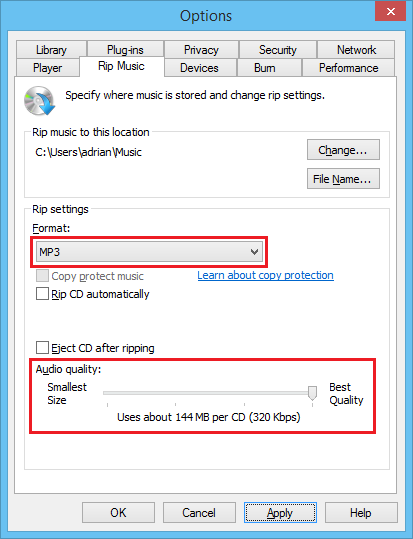
- Open the ‘Rip music’ tab
- Take note of the ‘Rip music to this location’ location – this is where your converted audio discs will be saved
- Change the ‘Format’ setting to ‘MP3’
- Optional: change the ‘Audio quality’ to a higher setting, for example320 kbps.
- Click ‘OK’ to save the settings.
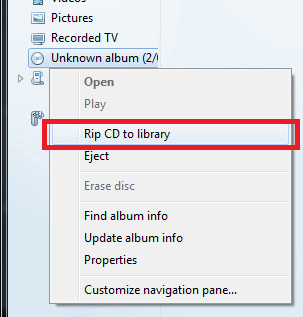
- In the left hand menu, you will see a CD icon that represents the audio disc that is in your CD drive – right click and click on ‘Rip CD to library’
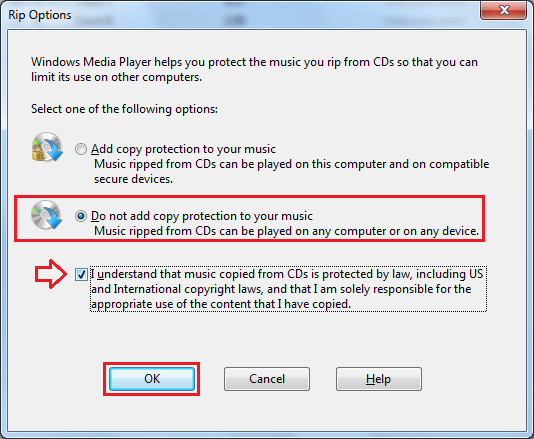
- Select ‘Do not add copy right protection to your music’ and ‘I understand …’
- Click ‘OK’ to start the process
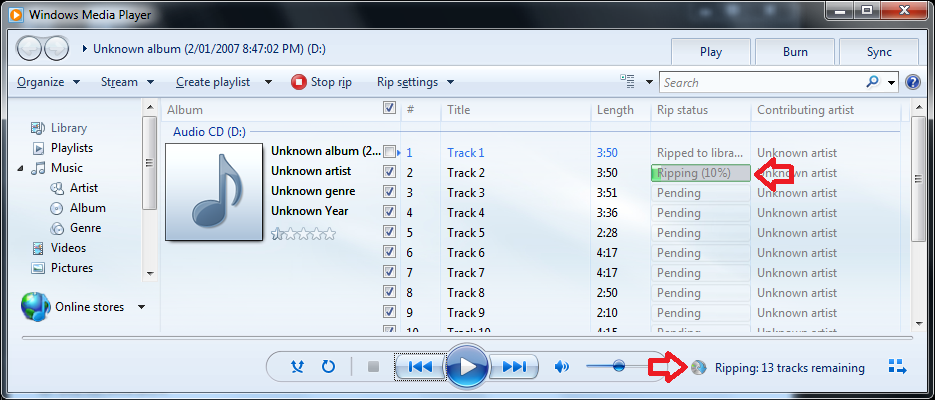
- The CD will begin being ripped to your library, it will take 10 – 20 minutes to complete.
- When done will find the folder of MP3 files in the location noted in step 6.
