The following steps show how to recover deleted files from a USB drive using TestDisk – a free recovery tool.
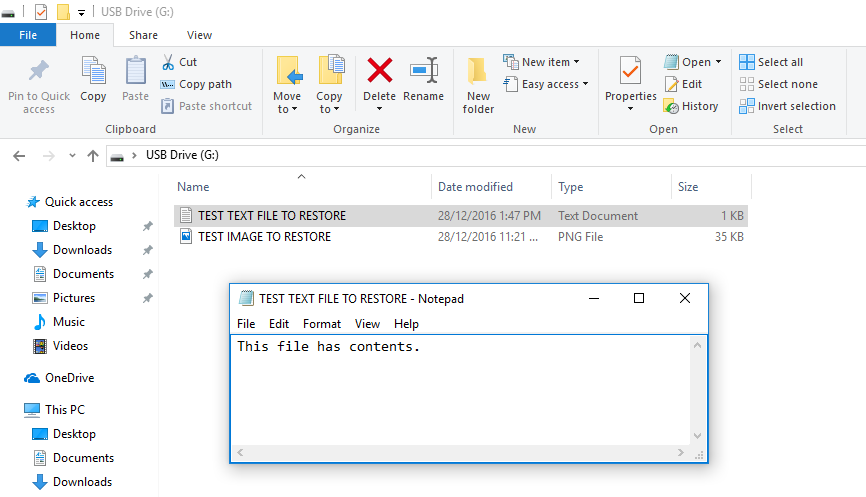
In this example we will be recovering a text file and an image.
IMPORTANT:
- This process will not work if the drive has been reformated
- File recovery can be a hit and miss process – you might not be able to recover the file(s) completely (which would give you a corrupted file) or at all
- For any hope at recovering the deleted files you must STOP using the USB drive straight away – the more you write to the drive the more of the deleted files you loose forever. This means do not download, extract or run TestDisk from the USB drive.
- Chances are the USB drive is using the FAT32 partition format. If it is you will not be able to recover the names of the deleted files – any recovered files will have a new random name. This is due to the way FAT32 stores file names separate from the files.
- Download TestDisk from http://www.cgsecurity.org/wiki/TestDisk_Download
- Extract the zip file
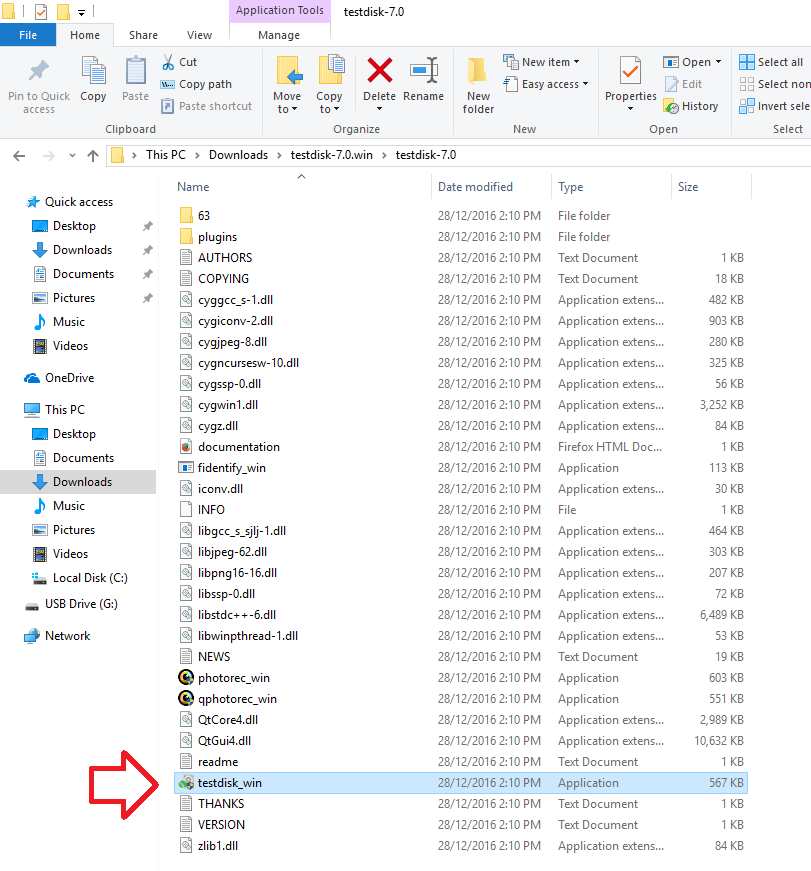
- Browse the extracted folders and run “testdisk_win”
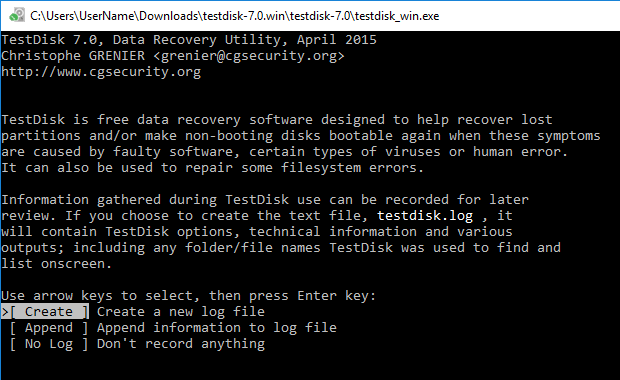
- A black command prompt window will open.
- When prompted, press enter on your keyboard to create a new log file
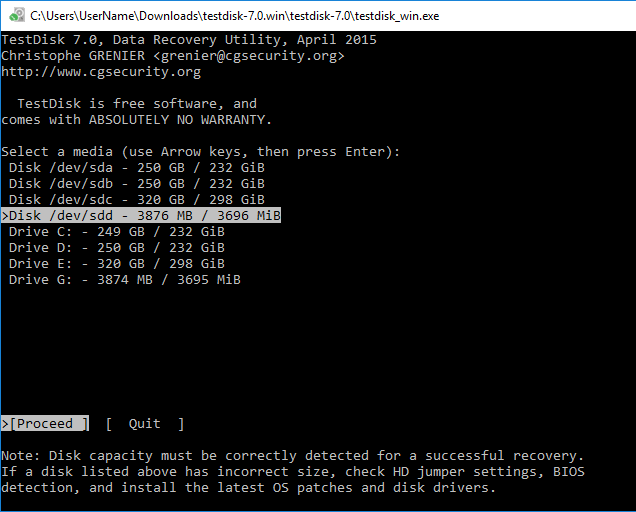
- TestDisk will now scan for drives connected to the computer.
- Using the arrow keys on your keyboard select the disk you need to recover the deleted file(s) from and then press enter on your keyboard
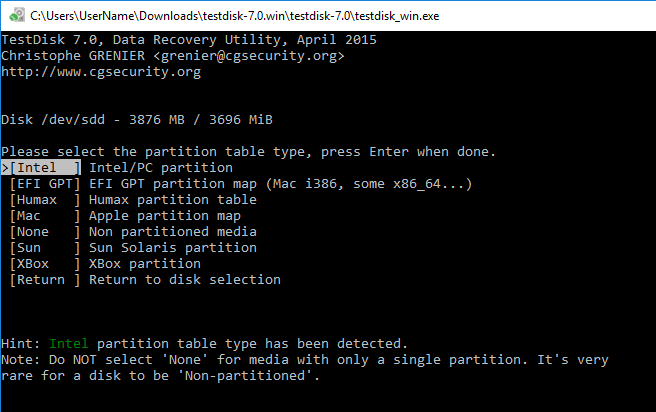
- Select the partition type, this is most likely going to be ‘Intel’ and press ‘Enter’
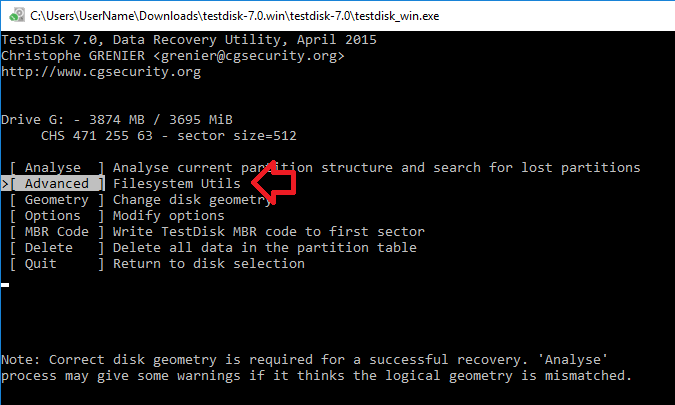
- Select ‘Advanced’ and press ‘Enter’
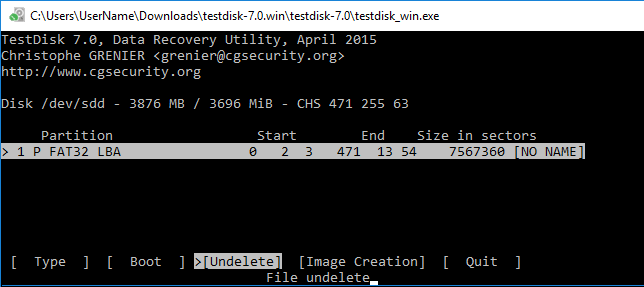
- Using the up and down arrow keys, select the partition that was holding the files
- Using the left and right arrow keys, make sure ‘Undelete’ and selected below
- Press enter
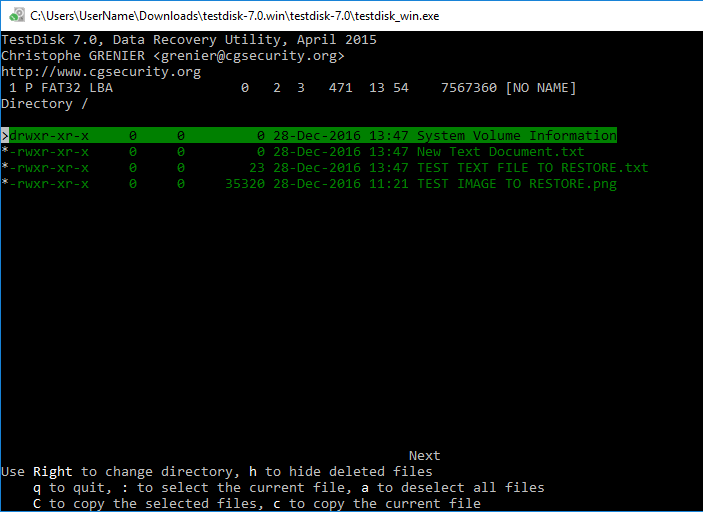
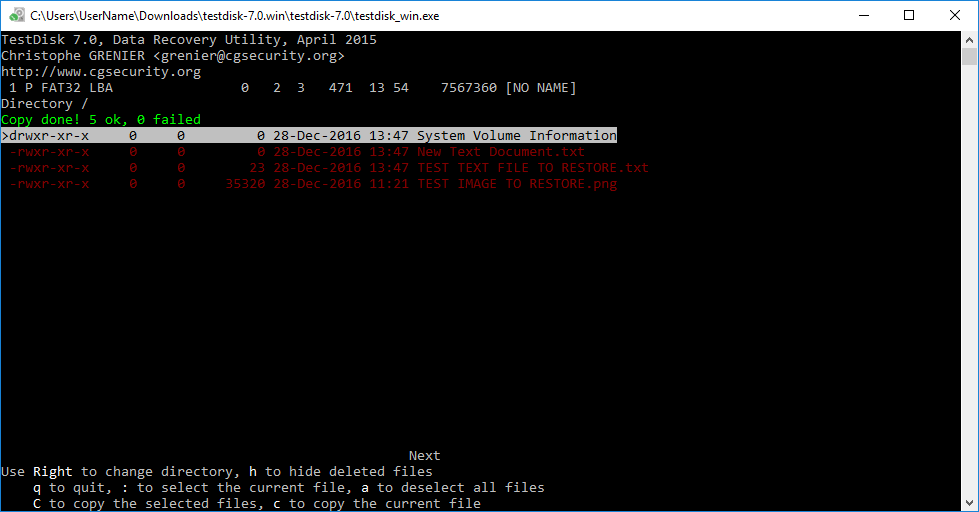
- The window will now list all recoverable files from the disk
- Press ‘a’ on your keyboard to select all files
- Press and hold Shift and C (capital C)
- Press C to save to the default directory
- The window will now read ‘Copy done!’ and hopefully no failed.
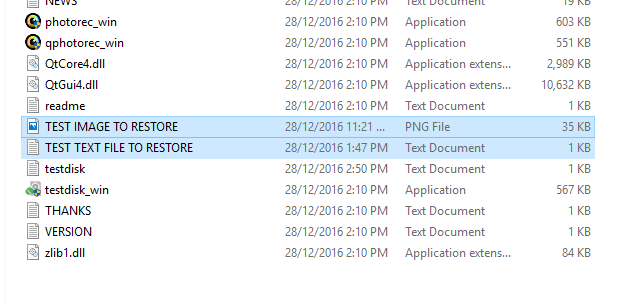
- The recovered files will be found in the same folder as testdisk_win
