The following process details how to import mailboxes using Exchange 2010 SP1.
For information on how to export mailboxes, see Exchange 2010 – How to Export Mailbox to a PST File.
Step 1: Assign the ‘Mailbox Import Export’ Role to the account
Before being able to import (or export) mailboxes you will need to assign the ‘Mailbox Import Export’ role to the account you use for Exchange administration.
This can be applied to an individual account or a security group.
To assign the role you will need to run one of the following PowerShell commandlets with an account which is a member of the ‘Organization Management’ security group. For Example, a domain administrator account already has this level of access.
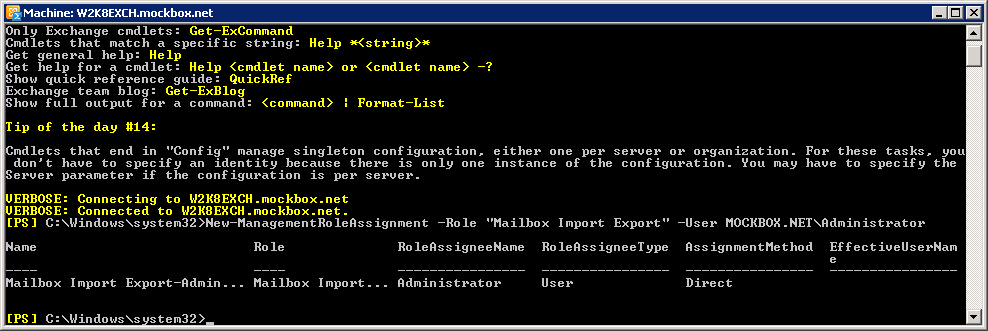
Assign ‘Mailbox Import Export’ to a user
In this example we will be applying the role to the ‘Administrator’ user account.
New-ManagementRoleAssignment -Role "Mailbox Import Export" -User MOXKBOX.NETAdministrator
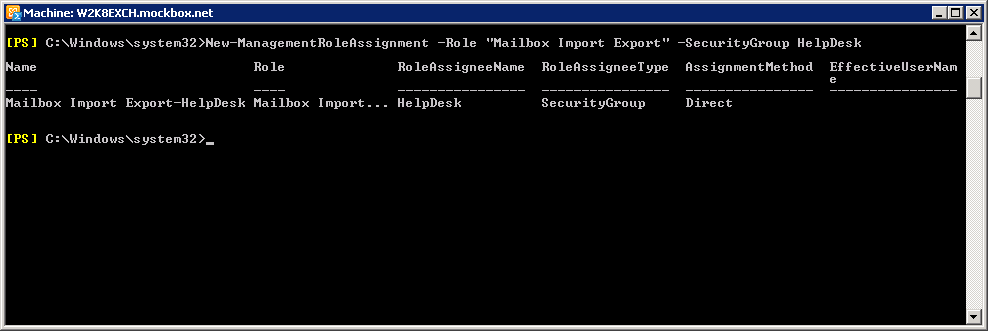
Assign ‘Mailbox Import Export’ role to a security group
In this example we will be applying the role to the ‘HelpDesk’ security group.
Please note, the security group needs to have a ‘Universal’ scope.
New-ManagementRoleAssignment -Role "Mailbox Import Export" -SecurityGroup HelpDesk
Step 2: Import the mailbox using the Exchange Management Shell
This example uses the Exchange Management Shell.
The mailbox data will need to be in a PST file saved to a shared folder.
The mailbox will need to be created before running the commandlet. For more information on how to create a mailbox, see Exchange 2010 – New Mailbox for existing user.
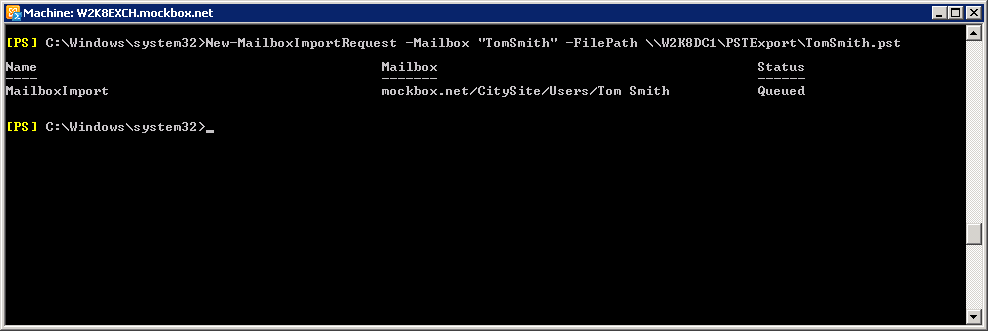
Import an individual mailbox
This example will:
- Import the mailbox ‘TomSmith’
- which is saved to W2K8DC1PSTExportTomSmith.pst
New-MailboxImportRequest -Mailbox "TomSmith" -FilePath W2K8DC1PSTExportTomSmith.pst


