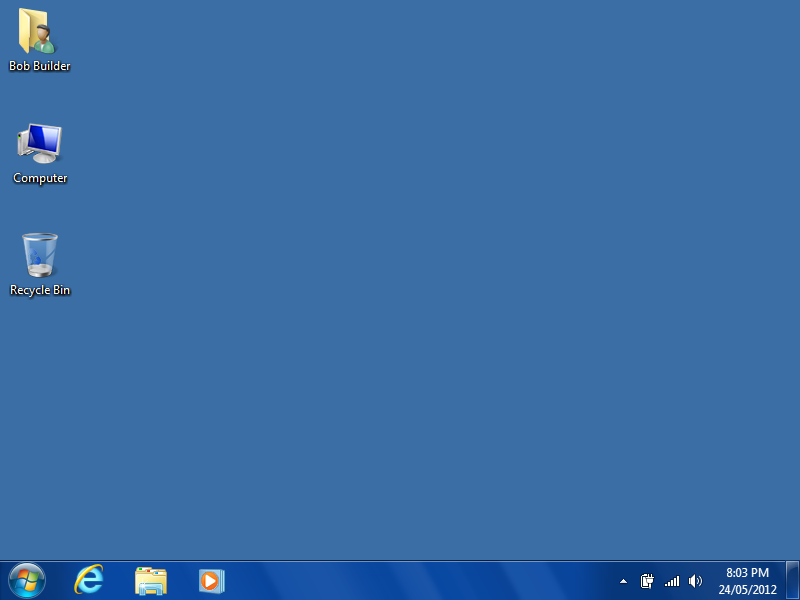
There have been some changes for how you can customise the default user profile in Windows 7.
Microsoft have disabled the standard ‘Copy Profile’ tool and will only support profile copying when done with sysprep. However this isn’t the only option for customising the default profile. The following lists the options available.
Group Policy Preferences
Group Policy Preferences seems to be the preferred ‘Microsoft’ way to customise the default profile. However they’re still quite limiting and doesn’t provide complete customisation to the profile. For example, you’re unable to enable the “My Computer” icon on the desktop or specify the default background colour for new users. Another good example of the incompleteness with this method is you can change the control panel to have the ‘icon view’ however you cannot select if you want large or small icons.
Copy a Configured Profile
This method was used back in the Windows NT days. It involves logging onto a computer, making customisations, restarting and then copying the configured profile into the ‘default user’ profile folder.
This option is not supported by Microsoft and will lead to issues. – DO NOT attempt this.
Use Sysprep to copy a configured profile
This is the new way to copy profiles to the ‘Default Profile’ and requires you to run sysprep.
- Log on as a localuser (this will not work with domain accounts, as these are deleted by Sysprep)
- Create the required customisations to Windows and applications
- Create a new text file, save it as ‘unattend.xml’and save it to C:\Windows\System32\sysprep
- Save the following configuration to the file:
-
<?xml version="1.0" encoding="utf-8"?>
<unattend xmlns="urn:schemas-microsoft-com:unattend">
    <settings pass="specialize">
        <component name="Microsoft-Windows-Shell-Setup" processorArchitecture="x86" publicKeyToken="31bf3856ad364e35" language="neutral" versionScope="nonSxS" xmlns:wcm="http://schemas.microsoft.com/WMIConfig/2002/State" xmlns:xsi="http://www.w3.org/2001/XMLSchema-instance">
            <CopyProfile>true</CopyProfile>
        </component>
    </settings>
</unattend>
- Open the Windows Start menu, select ‘All Programs’ then ‘Accessories’
- Right-click on ‘Command Prompt’ and select ‘Run as administrator’
- Type in ‘cd sysprep’and hit enter on the keyboard. This should bring you to C:\Windows\System32\Sysprep
- Type in ‘sysprep /shutdown /generalize /unattend:unattend.xml’ and hit enter on the keyboard
- Syspre will now run and should copy the newest profile into the ‘default user’ folder.
A note on this method: Sometimes sysprep will copy a different profile, so always check the results. Also, Microsoft haven’t documented what this method does and doesn’t copy – for example you will find there are quite a few customisations which won’t work, like start menu or taskbar changes.
Make Specific Changes to the Default User Registry Hive
This method is by far more consistent and controlled, however it requires you to know which registry keys apply for each setting. The best way to determine the correct registry setting is using the ‘Process Explorer’ tool. It will monitor the registry whilst you make the changes, then you simply add the changes to your customise script.
The Process Explorer tool can be found here – http://technet.microsoft.com/en-us/sysinternals/bb896653.aspx
The following CMD script will modify the default profile, it makes the following changes:
- Change the control panel to ‘classic’ small icon view
- Add the ‘My Computer’, ‘User Files’, and ‘Internet Explorer’ icons to the desktop
- Set the default theme
cls

REM ###################################################
REM ###################################################
REM ##                                               ##
REM ## Apply customizations to Default User profile  ##
REM ##                                               ##
REM ###################################################
REM ###################################################

REM ##################
REM # Registry Edits #
REM ##################

REM **********************************
REM  Load Default User registry hive
REM **********************************
reg load HKU\DefaultUser "C:\Users\Default\ntuser.dat"

REM ******************************
REM  Force Classic Control Panel
REM ******************************
reg add "HKU\DefaultUser\Software\Microsoft\Windows\CurrentVersion\Explorer\ControlPanel" /v StartupPage /d 1 /t REG_DWORD /f
reg add "HKU\DefaultUser\Software\Microsoft\Windows\CurrentVersion\Explorer\ControlPanel" /v AllItemsIconView /d 1 /t REG_DWORD /f

REM *************************************************************************
REM Show the desktop icons for Computer, User's Files, and Internet Explorer
REM *************************************************************************
REM Show Computer icon on the desktop
REG ADD "HKU\DefaultUser\Software\Microsoft\Windows\CurrentVersion\Explorer\HideDesktopIcons\NewStartPanel" /v "{20D04FE0-3AEA-1069-A2D8-08002B30309D}" /t REG_DWORD /d 0 /f
REM Show User's Files icon on the desktop
REG ADD "HKU\DefaultUser\Software\Microsoft\Windows\CurrentVersion\Explorer\HideDesktopIcons\NewStartPanel" /v "{59031a47-3f72-44a7-89c5-5595fe6b30ee}" /t REG_DWORD /d 0 /f
REM Show Internet Explorer icon on the desktop
REG ADD "HKU\DefaultUser\Software\Microsoft\Windows\CurrentVersion\Explorer\HideDesktopIcons\NewStartPanel" /v "{871C5380-42A0-1069-A2EA-08002B30309D}" /t REG_DWORD /d 0 /f

REM *****************************************************
REM Disable Microsoft Office first run message
REM *****************************************************
reg add "HKU\DefaultUser\Software\Microsoft\Office\12.0\Common\General" /v ShownOptIn /d 1 /t REG_DWORD /f

REM *****************************************************
REM Disable Microsoft Communicator First Run Tour
REM *****************************************************
reg add "HKU\DefaultUser\Software\Microsoft\Communicator" /v TourPlayed /d "1" /t REG_DWORD /f

REM *****************************************************
REM Set default theme
REM *****************************************************
reg add "HKLM\Software\Policies\Microsoft\Windows\Personalization" /v Themefile /d "C:\Windows\Resources\Themes\Win7.Theme.theme" /t REG_SZ /f
reg add "HKU\DefaultUser\Software\Policies\Microsoft\Windows\Personalization" /v Themefile /d "C:\Windows\Resources\Themes\Win7.Theme.theme" /t REG_SZ /f

REM *****************************************************
REM Enable "Show System Icons and Notifications" Option
REM *****************************************************
reg add "HKU\DefaultUser\Software\Microsoft\Windows\CurrentVersion\Explorer" /v EnableAutoTray /d "0" /t REG_DWORD /f

REM ***********************************
REM  Unload Default User registry hive
REM ***********************************
reg unload HKU\DefaultUser
Modifying Default Profile with ConfigMgr
ConfigMgr OS Deployment (Zero Touch deployment) is far more automated with the original OS installation, so each of these manual processes aren’t possible.
The best way around this can be found here –
http://www.mockbox.net/windows-7-tips/226-windows-7-default-profile-with-configmgr.html
