Problem
By default Firefox will not use your Windows credentials to authenticate to websites that require network level authentication.
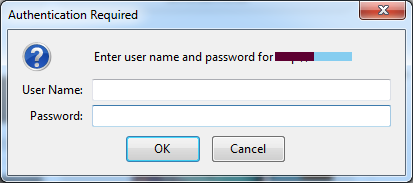
This results in Firefox prompting for a username and password for Intranet websites that Internet Explorer would automatically authenticate to.

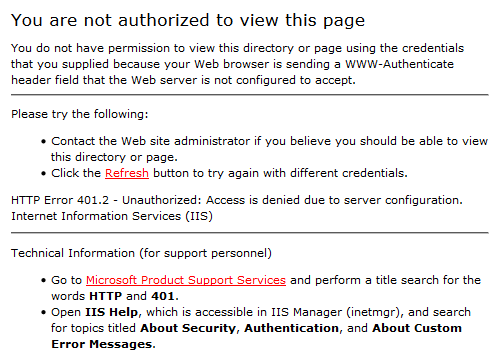
Or even worse, a ‘You are not authorized to view this page’ message.

Solution
To enable NTLM authentication you will need to customise your Firefox settings. You can do this using the about:config page or as part of the installation if you are distributing Firefox to multiple computers.
How you configure the setting depends on what you want to do.
Allow NTLM authentication for particular site(s)
- In the address bar enter about:config and hit enter
- Click ‘I’ll be careful, I promise’

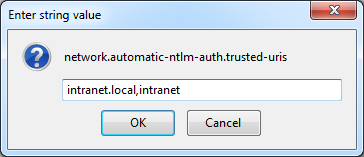
- In the search box, enter network.automatic-ntlm-auth.trusted-uris
- Double click on the setting and enter the website address. If you have more than one separate using a comma. You can ommit the transport protocol (http or https). For example intranet.local,intranet

- Note: you can also enter .local if you want to apply this to all websites that match *.local
Allow NTLM authentication for all internal websites
These steps show how to configure Firefox to automatically authenticate to websites that do not use a FQDN (fully qualified domain name) – which are typically internal Intranet websites.
- In the address bar enter about:config and hit enter
- Click ‘I’ll be careful, I promise’

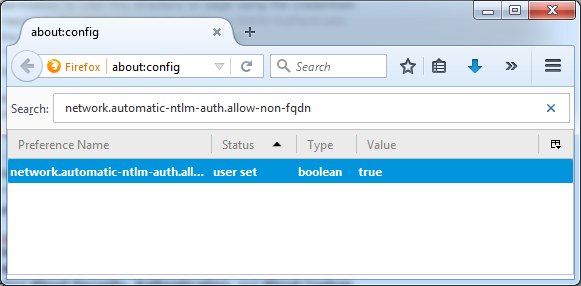
- In the search box, network.automatic-ntlm-auth.allow-non-fqdn
- Double click on the setting to set it to true
- Note: your proxy settings may also need to be configured to allow using the NON-FQDN address (the alias) for the website.
