An MSI file is a software installation package format that can include files, commands, instructions, registry settings etc.
The following steps detail how to open an MSI file and customise the commands, instructions, registry settings etc ran during the installation of the MSI file.
In this example we are using Orca, the free MSI editor created by Microsoft to customise the Skype MSI installation file.
This example will show you how to change the registry settings applied as well as change the files saved during installation.
- Download and install Orca (a free MSI editor tool by Microsoft) here www.itsupportguides.com/downloads/MicrosoftOrcaMSI.zip
- Download the latest version of the MSI install for Skype here: http://www.skype.com/go/getskype-msi
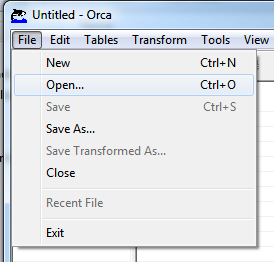
- Using Orca and using the File menu open SkypeSetup.msi
- Using the left hand menu you browse all the options available during the installation
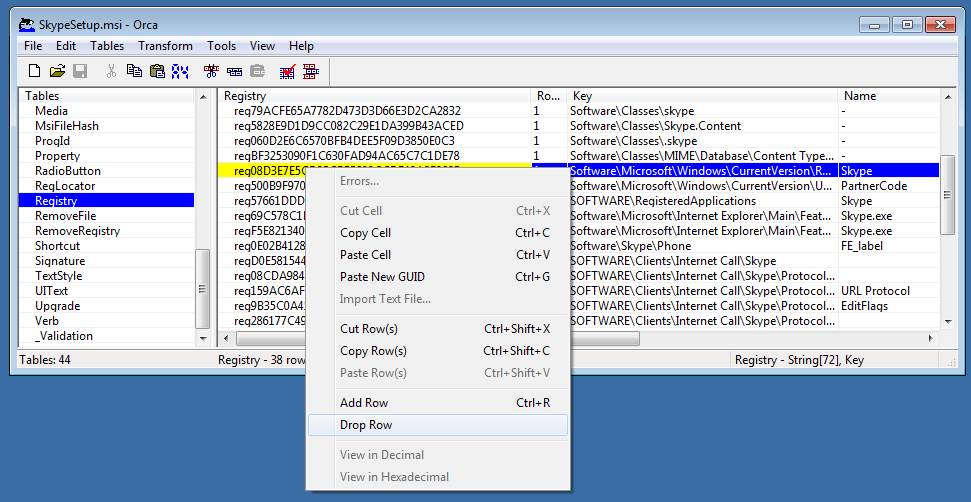
- Click on ‘Registry’
- Scroll down until you see the entry which includes ‘Software\Microsoft\Windows\Current\Version\Run’
- Right click on the line and choose ‘Drop Row’
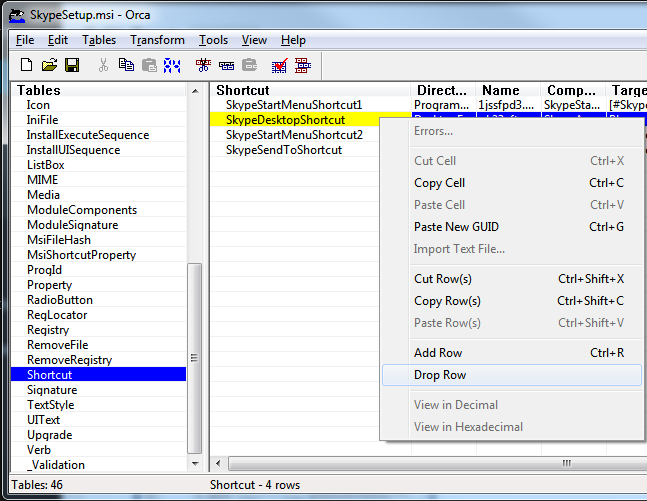
- On the left hand menu click on ‘Shortcut’
- Right click on the row titled ‘SkypeDesktopShortcut’ and choose ‘Drop Row’
- Save the changes and close Orca
- The MSI file has now been customised and is ready to use.


